Gates Rusting After A Year
home repair 15-03-2026
A year ago, we had iron gates installed with a pattern that the girlfriend liked. This replaced a temporary set of gates that was installed by the original construction crew using cocolumber and sheet metal. The last sheet metal gate actually fell down in strong wind a few weeks ago, I’ll post that video soon.
On the day the new gates were installed, one looked like this:

I didn’t take a picture of the other gate, but it is smaller. Around 1.5 meters wide.
Pretty nice! Custom gates. Good day; good feeling.
After a year, these gates looked like:

And,

You can see, clearly, that:
- The original paint has faded significantly.
- There are a bunch of rust spots.
- There is a layer of dirt that is from dust in the air and rain water.
You can see what that special combination of tropical heat, 85% humidity, and salty sea air does to building materials. There is
The original gate guys didn’t use any kind of paint primer (especially, an anti-rust primer). I wish I knew that a year ago. That’s just making the process go that much faster.
So, I used a metal brush drill bit to scrap away the the rust spots. I removed all the original paint. You could see nice shiny metal for a couple of minutes. Then, you could see it starting to turn orangish-brown again as the local climate did its thing. I did about half of the first gate. Then, hired two local guys to help me do the rest of it. It took them 1.5 days to do it themselves. It would have taken me a week or more, probably spread over a month to finish by myself.
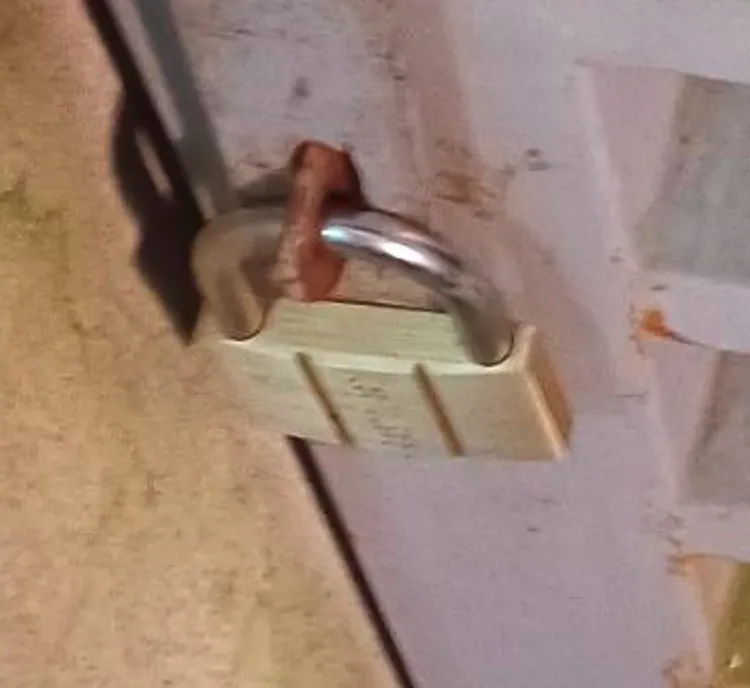
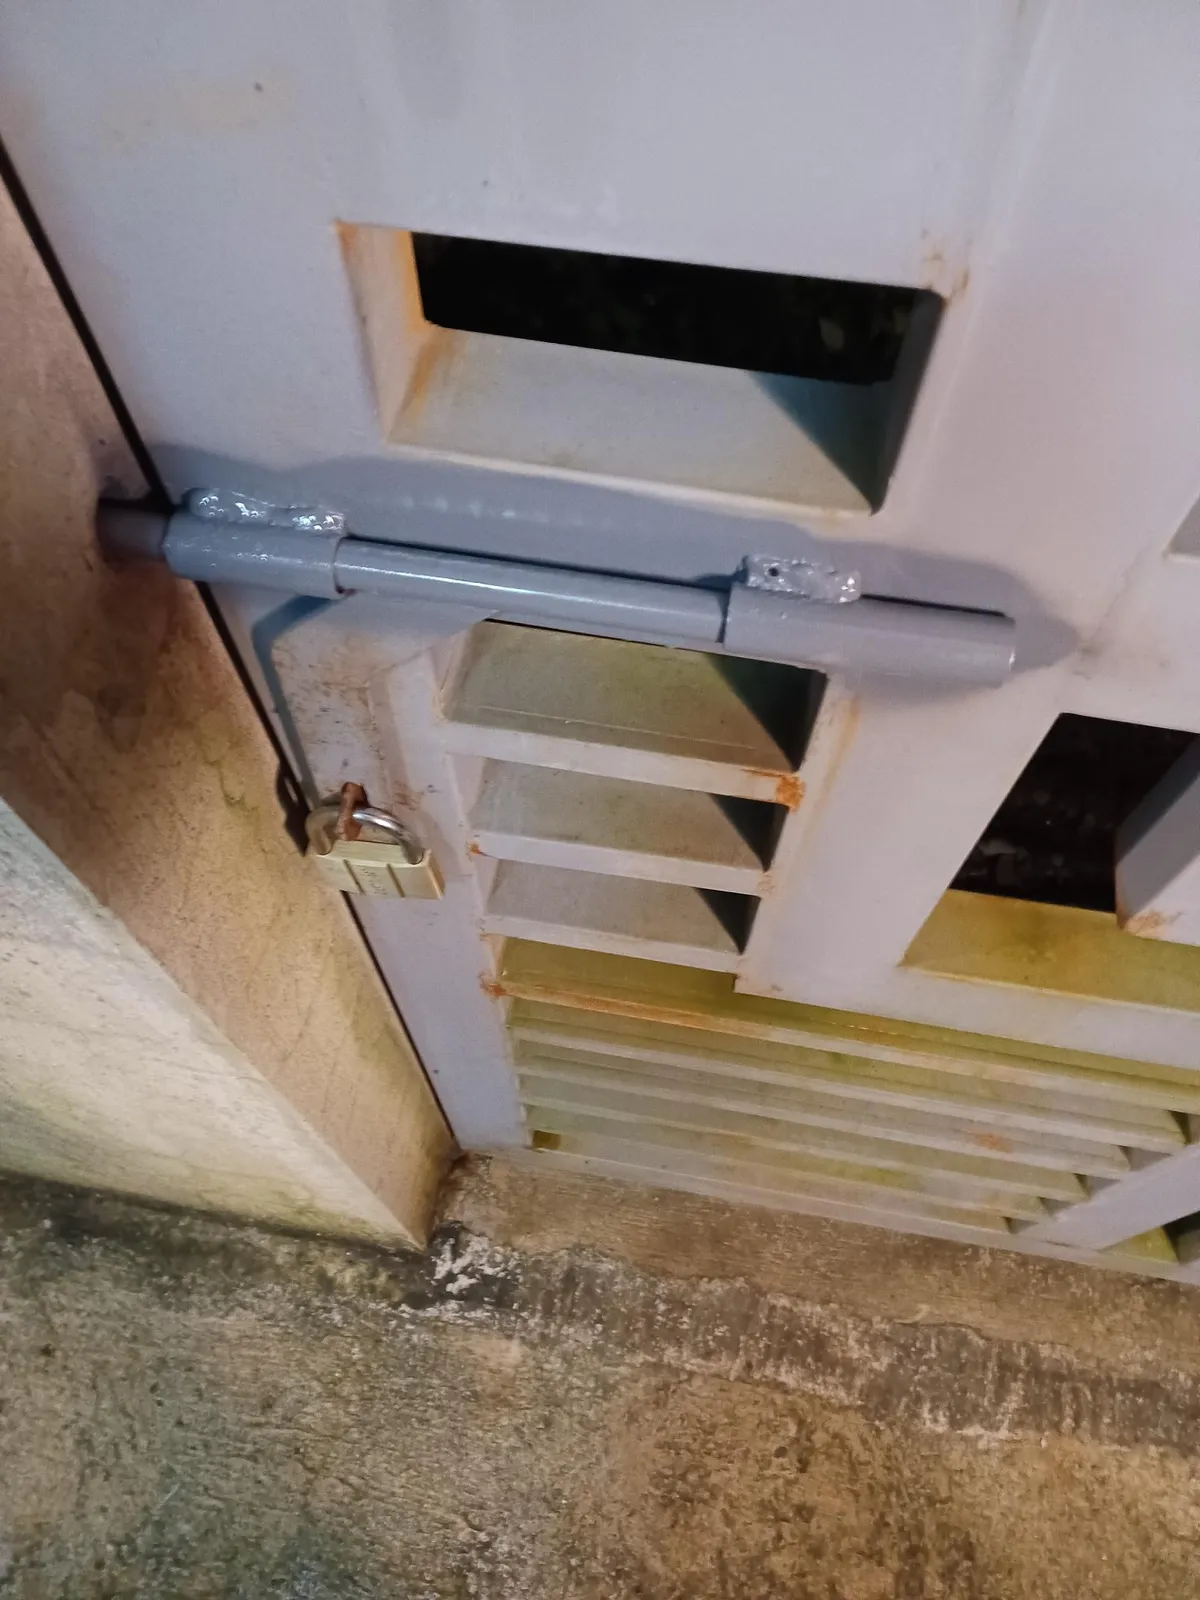
We also couldn’t get our lock into the lock hole on the embedded person gate on the large gate (see the first picture above). So, we had to have a welder remove the metal bits that make up the lock holding mechanism, cut it, and weld it back in place. So, the welder guy took care of that. It was at this point that the welder guy asked me if I had spot welding machine (inverter welder), which I had. Then, they asked if I had welding rods—I did. If you’ve been reading all the blog posts, this is a point of pride for me.
The basic process was:
- Use an old rag and some water to clean away the dirt
- Use the metal brush drill bit and power drill to scrap away the rust down to shiny metal
- Apply anti-rust primer paint over the area that was just scraped; let it dry.
- Apply paint over the area that was painted with primer.
After all the rust was removed and had paint on it, we added a coat of primer over all surfaces and then a coat of paint over all surfaces.
The end result looks like:

and

Looks more-or-less like it did when we put the gates in a year ago. We added a few more noticable scratches in the metal that can be seen even with the new paint, but at least it isn’t rusting anymore.
As we scraped away some of the rust in several areas, we found a couple of small holes at the joints / edges where water was leaking out. So, there was water trapped inside there. Eventually, that will rust out some areas from the inside. We let it dry out, then painted over it for now. In the near future, we will spot weld those areas (and repaint). We didn’t have the neeeded materials to do that last Saturday and it was already late in the day. We’ll be following up on that.
We may also try putting a heavy duty epoxy paint on it so that it lasts longer. I’ll experiment with that.
Thinking of Moving to the Philippines? Get Reliable Guidance
Online communities are helpful for general questions. For anything important, you still need accurate, professional, and updated information. E636 Expat Services helps foreigners with:
- Residency and long term visas
- Bank account opening
- Health insurance guidance
- Real estate assistance
- Business setup
- Retirement planning
- A smooth and secure transition into life in the Philippines
If you want to move with confidence instead of relying on random comments online, we can guide you every step of the way.
Book a consultation with E636 and start your journey the right way.